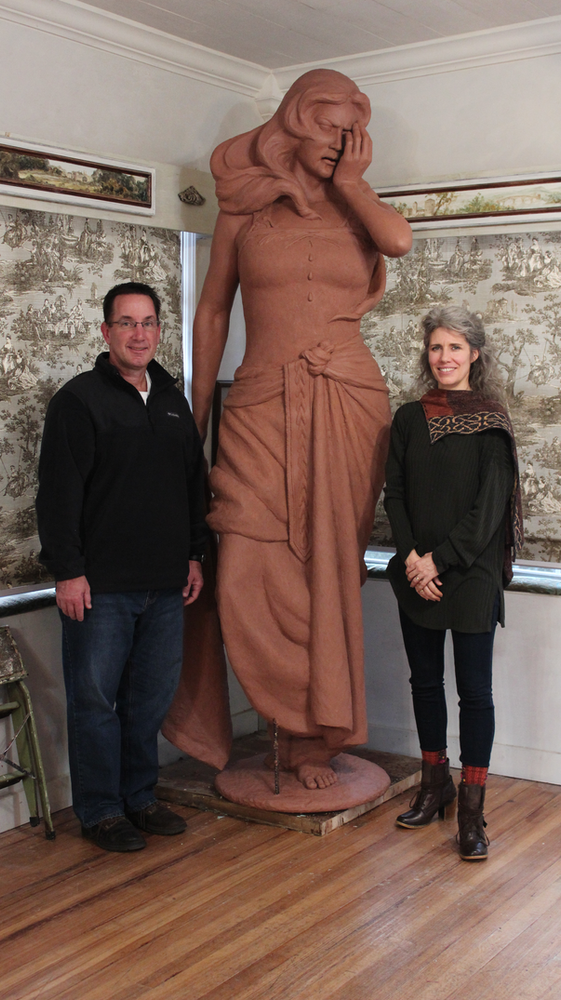
Sculptor's Muse: Bronze Casting
All bronze sculptures are created from an original sculpture, usually sculpted from clay. In this bronze casting series, I will follow the steps on my 8 ft monument "Rachel Weeping" for St. Richard's Catholic Church in Jackson, MS.
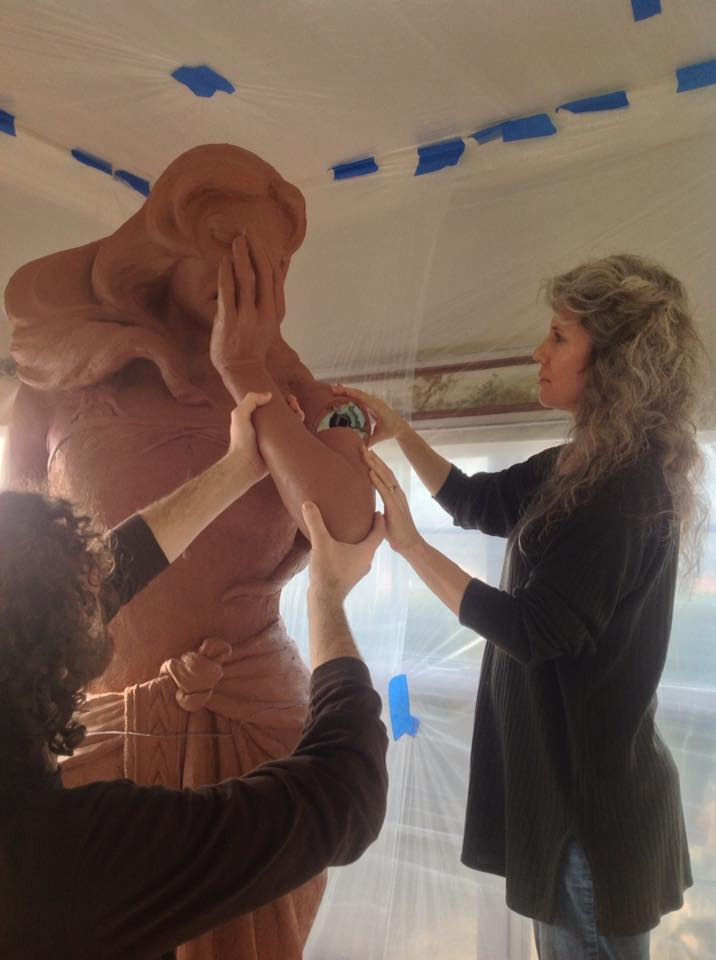
After the sculpture is completed and approved, then the foundry sends a master mold maker to my studio. If the sculpture is small enough, I will take it to the foundry, but for life-size and over life-size figures, the foundry creates the mold on site. The first step for this particular sculpture was removing the bent left arm from the face. Knowing that this would be the procedure, Colt welded the armature so that the arm could be easily removed. This ensures that the mold of the face can be done, as well as allowing the mold maker to create the mold of the entire hand and arm.
After this step, shims were placed in the sculpture to delineate where each section of rubber mold would be. The seam lines have to considered thoughtfully as after the bronze is cast these will be the sections that are welded together. A release is sprayed over the entire sculpture to keep the rubber mold from sticking to the original clay.
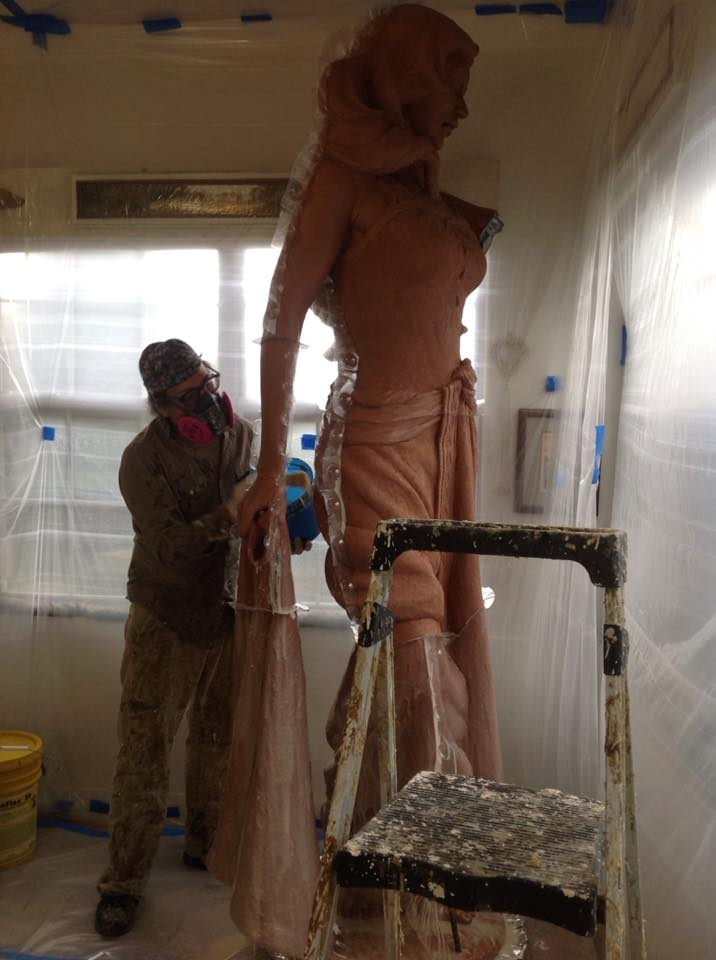
The first coat of rubber mold is referred to as the "print" layer. It is the thinnest layer of rubber, its sole purpose is to capture every tiny detail in the sculpted clay.
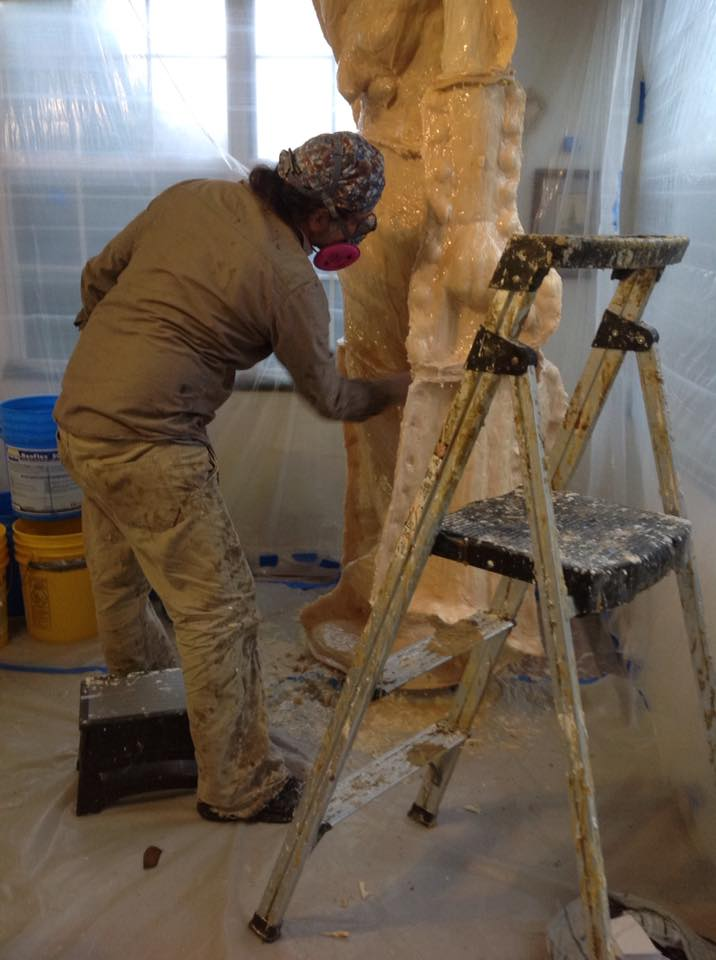
After the print layer, successive layers of thicker rubber mold are applied to each section. This is done until the sections achieve the desired thickness. Next month, Step 2: The Mother Mold
To see all the steps of this process click here
To leave a comment you must be logged into Facebook on your device.